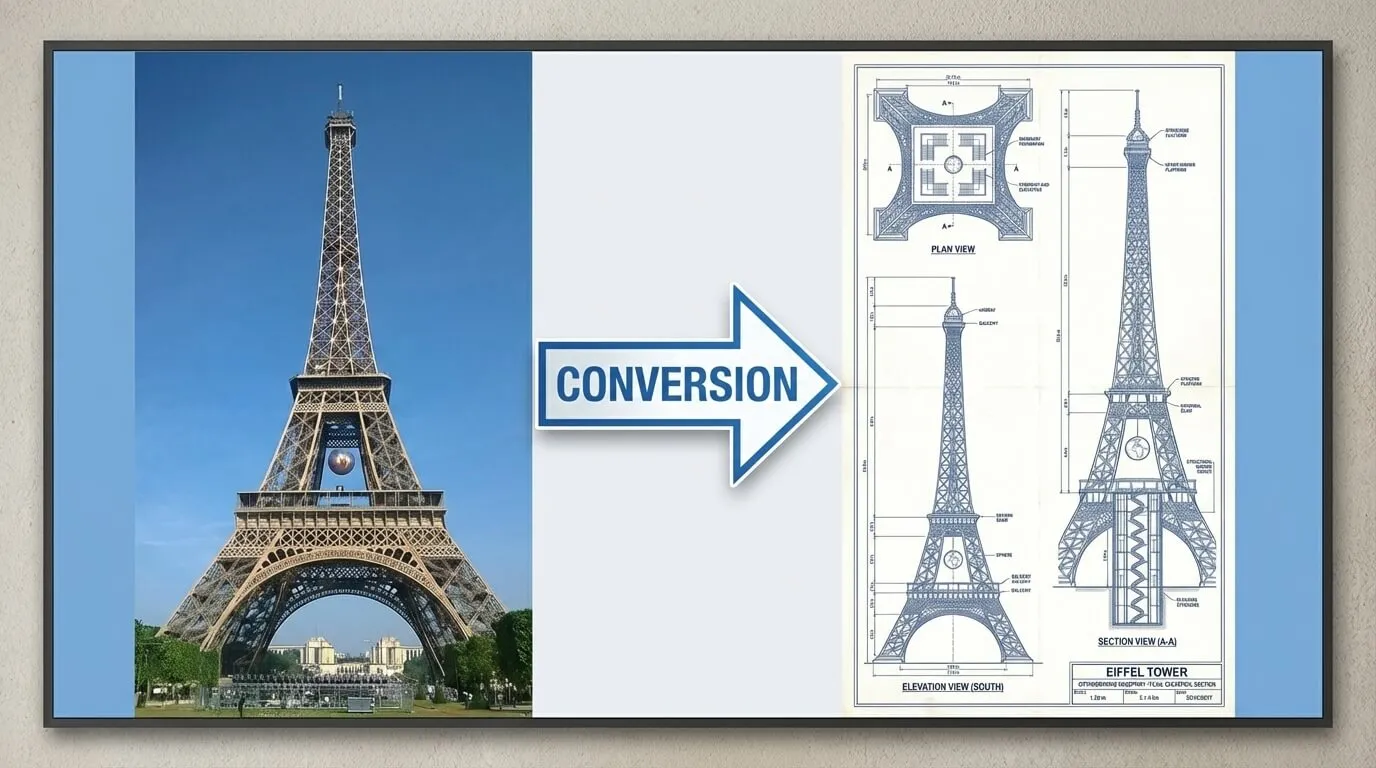
Open the AI image editor online with a photo that clearly shows the area you want to change. Use the original file when you have it; a screenshot of a screenshot can hide edges and small details. Keep a separate copy for comparison.
02
Describe the change
Tell the AI photo editor what to change and where it appears. Instead of “fix this picture,” try “remove the empty cup beside the laptop.” Add what should stay, such as the desk, hands, or screen, when those details matter to your image.
03
Review and save your result
Compare the AI image editor result with the original before downloading. Check the changed area, then scan the rest of the frame for unintended changes. If something looks wrong, narrow the request and try again from your original image.
02 / POSSIBILITIES
What You Can Change with the AI Image Editor
The AI image editor turns descriptions into edits to an existing picture. Start with the part that distracts from your subject, then decide whether the result needs another change.
01
Replace a busy background
Put a product against a plain wall or move a portrait into a different setting. Ask the AI image editor for a background with lighting that fits the subject. Before saving, inspect hair, handles, and transparent edges: a believable backdrop needs a believable boundary, not just an attractive scene.
02
Remove objects that draw attention away
Clear a stray cable, a cup, or clutter from the edge of a photo. The AI image editor fills the removed area using surrounding visual context. Look closely at repeated patterns such as tiles or fence rails; a smooth patch can still break the pattern. Choose the smallest useful removal before changing the wider scene.
03
Change the color of an object
Explore a different cushion, jacket, or packaging color with the AI image editor. Name the object and the desired color rather than asking for a new overall look. Use the AI image editor to explore an idea, then check seams, highlights, and nearby objects for color spill; an attractive mockup is not an exact color proof.
04
Adjust lighting and mood
Ask for a brighter room, softer shadows, or warmer light. With the AI image editor, describe the effect you want rather than stacking several style labels. Compare skin tones and white surfaces afterward so a warmer mood does not turn into an unwanted color cast.
03 / IN PRACTICE
AI Photo Editor Ideas for Everyday Projects
The AI photo editor helps adapt pictures you already have to a specific use. Choose the intended destination first so you can judge the edit against a real task.
A fresh perspective.
AI Image Editor for Product Photos
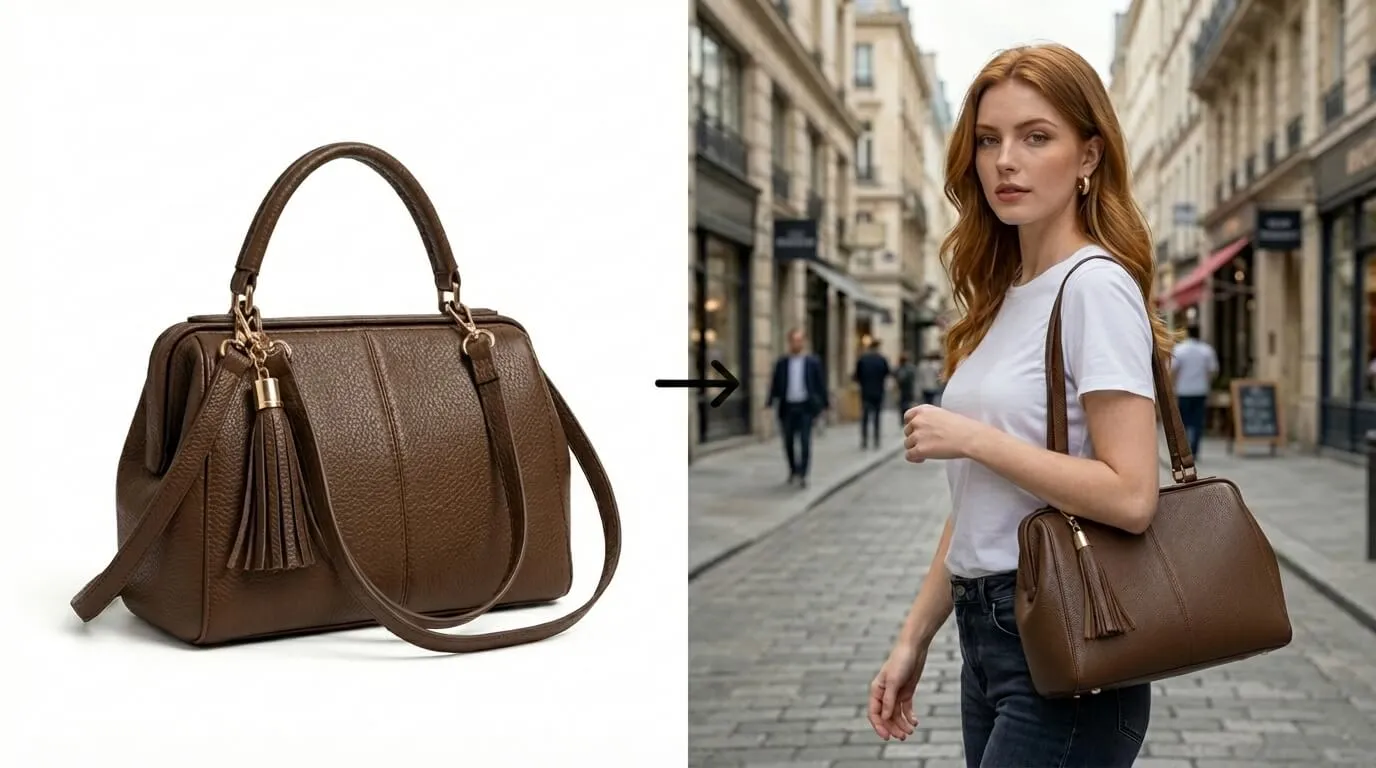
A busy table can distract from a handmade mug or a pair of shoes. Use the AI image editor to simplify the background, then compare the item with your source photo. Keep labels, stitching, shape, and visible condition accurate. The AI photo editor can help present an item, but an edit should not suggest a feature the actual product lacks.
AI Image Editor for Profile Pictures
An indoor portrait may need a calmer background or more balanced light. With the AI image editor, describe the setting you want and specify that the person's features should remain recognizable. Inspect eyes, glasses, hair, and skin texture before choosing a version. A useful portrait still looks like the person, rather than a generic polished face.
AI Image Editor for Social Posts
Give an existing campaign photo a different background or color mood for a new post. Use the AI photo editor to explore the visual direction, then check the image at the size your audience will see. Keep important details away from busy areas where captions or interface controls could compete with them.
AI Image Editor for Travel Photos
Remove a distracting bin or stray object from a personal travel picture without requesting a whole new location. Compare the horizon, building edges, and pavement after editing. Keep the original when the photo also serves as a record of the place; a tidier creative version is a different use from documentary evidence.
04 / A LITTLE DIRECTION
AI Image Editor Prompts That Make Your Intent Clear
The AI image editor needs a clear target, a requested change, and any important detail to retain. These prompts are starting examples to adapt to your own photo, not guaranteed outputs.
Your goal
Example prompt
Check the result
Simplify a product shot
Replace the patterned cloth with a plain gray surface; keep the mug's shape and printed label.
Handle edges, lettering, and the contact shadow
Remove a distraction
Remove the red cable beside the keyboard; keep the keyboard and desk grain.
Repeated keys, wood texture, and leftover cable shadows
Try a new color
Change the blue cushion to muted green; keep the fabric texture and sofa color.
Cushion seams, highlights, and nearby fabric
Start with one main change. If the AI image editor alters too much, return to the original and name a smaller target; “the left cushion” is clearer than “the furniture.”
Use two review passes. First inspect the requested edit, then the surrounding image at 100% zoom in your image viewer; a good thumbnail can hide damaged lettering or uneven edges.
05 / GOOD TO KNOW
AI Image Editor Questions, Answered
What is an AI image editor?
An AI image editor uses artificial intelligence to modify an existing picture based on your request. Unlike starting with a blank image, you bring a photo and decide what needs changing, such as its background, an object, or the lighting. An AI photo editor can propose a result, but you still decide whether that result fits your purpose.
How do I edit a photo with a text prompt?
Upload a picture to the AI image editor online and describe the visible change you want. Name the object and its location, then mention details that should remain. For example, ask to change the wall behind a chair while retaining the chair's shape; this gives a clearer task than asking to “make everything better.”
Is this AI image editor free?
Yes, you can try the AI image editor for free. Free access does not mean unlimited use or that every available option has the same conditions. Check the conditions shown in the tool for the option you choose; this page does not promise a fixed number of free edits or unrestricted downloads.
Which image file should I upload?
Start with a clear, original photo in a format accepted by the upload control. Check the AI photo editor's displayed format and size requirements before choosing a file, and convert a copy if necessary. The file extension alone does not tell you whether small text or fine edges contain enough detail for the edit you want.
Can I remove objects or replace the background?
Yes, the AI image editor can remove unwanted objects and replace a photo's background. Describe the target and the surrounding scene, then inspect where they meet. For object removal, check patterns and shadows; for a new background, check the subject's outline and whether the direction of light still makes sense.
How can I keep the subject from changing?
Tell the AI photo editor which features or objects should remain, then compare them with the original. Preservation instructions guide the edit, but they do not guarantee that every pixel stays unchanged. If a face, logo, or product detail shifts, restart from the source and reduce the scope rather than building more edits on a damaged result.
Why does an edit look wrong when I zoom in?
A small preview can hide uneven edges, altered letters, or repeated textures. Check the AI image editor output at full size and at its intended display size before deciding it is ready. If the source is blurry or heavily compressed, use a clearer original when available; a request for sharper detail cannot establish what an unreadable label actually said.
YOUR NEXT EDIT
Try the AI Image Editor on Your Next Photo
The AI photo editor starts with a picture you already have and a change you can describe. Choose one distracting object, background, or color to work on first. Upload the image above, state what matters, and review the result against your original before saving a version for your project.